
HELLO! This is a very basic site to demonstrate screen printing and supplant the demonstrations you may have seen at the RIT Wallace Library Book Arts Fair, March 26, 2004. In the very near future, it will be enhanced with videos, animations, much better pictures, as well as more in depth discussions of different aspects of screen printing for the home/hobby printer. Please feel free to contact me if you have any specific questions about what you see or don't see here! |

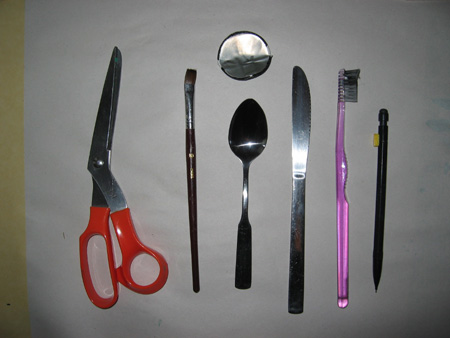 |
Tools of the trade 01: - scissors |
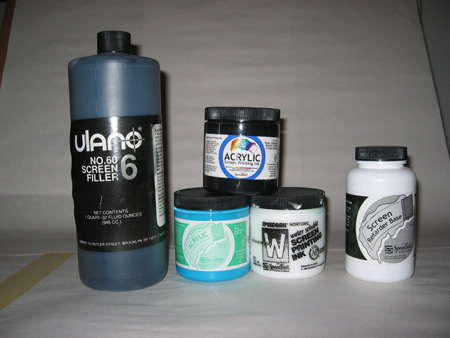 |
Tools of the trade 02: - Screen filler |
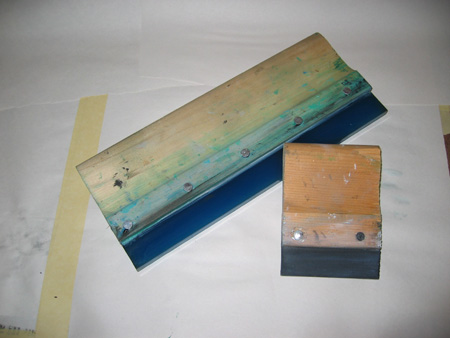 |
Tools of the Trade 04: Squeegees come in various sizes and with wood or metal handles. |
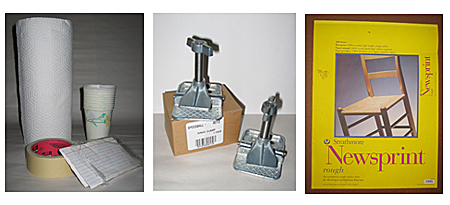 |
Tools of the Trade 05 - paper towels - Speedball® hinge clamps (2 per set) - Newsprint for pre-printing and test printing. |

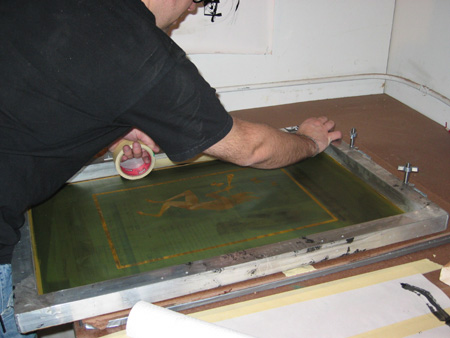 |
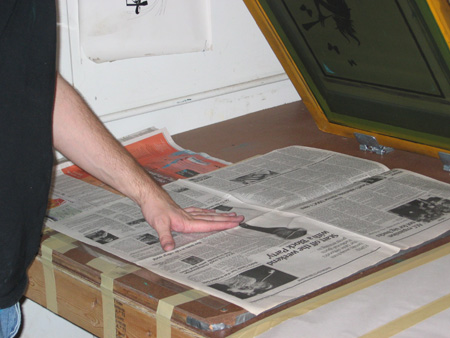
STEP 1 Find a clean flat area to do all your printing and have all of your supplies ready for you while printing. It's also helpful to have a small plastic bag to throw your trash into. Use masking tape to
seal off the edges of your design. This will ensure that ink doesn't seep
through the open edges of your screen and will also help later during
cleanup. |
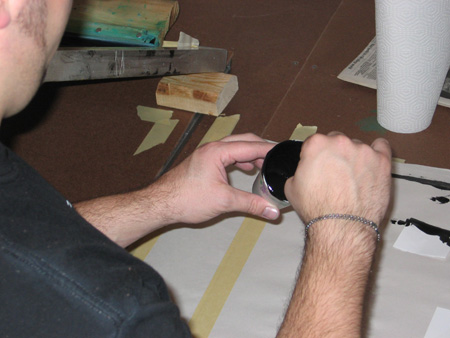 |
STEP 2 INK MIXING. When using Speedball acrylics, it is important to also mix in some of the Retarder base. This substance will keep the ink from drying rapidly Using the paper cups allows you to mix inks at will. Experiment with mixing the various available inks to get new colors. Also make sure you make enough ink to print all of your prints. You don't want to run out of the custom color mid-run! |

The pictures represent the printing of the second color for the posters advertising
the Book Arts Fair.
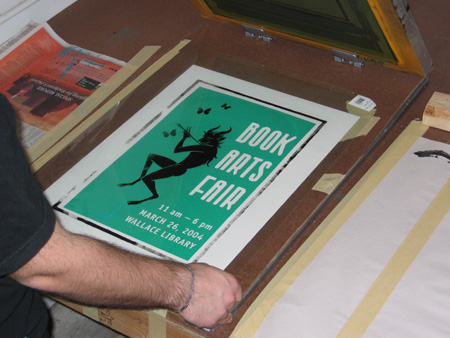 |
STEP 3 First off, place your
paper underneath the mylar and make one print onto the mylar. This will
serve as your guide for lining up your prints. |
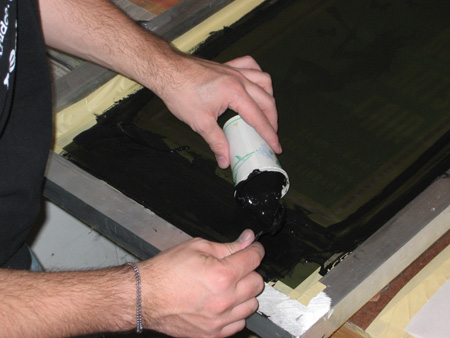 |
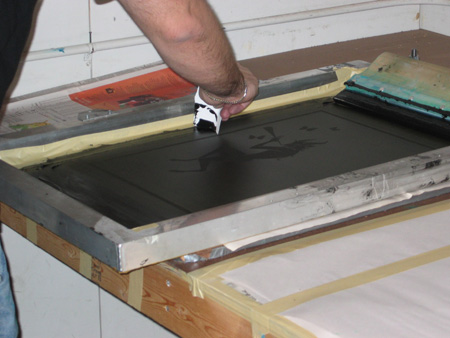
STEP 4 Pour out the ink onto the frame. I normally pour some at the top and also the bottom of the design. |
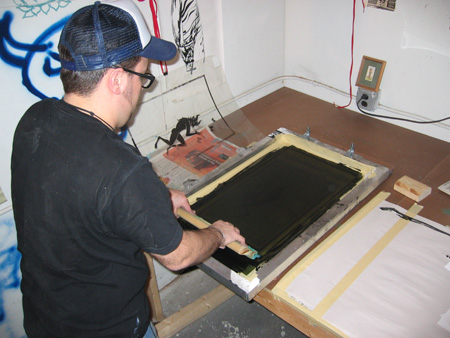 |
STEP 5 Your first pull across the design should be light and cover the design with a full coating of ink. This is called the "Flood coat." This puts a thin coating of ink over all of the design, and will enable a better print. Use as little pressure as possible on this pass. |
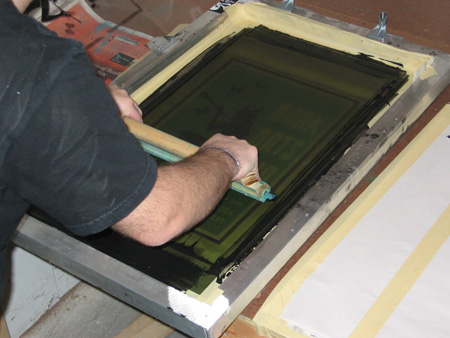 |
STEP 6 Gather up some ink
at the top of the design. Your second pull should use considerably more
pressure to force the ink through the screen. |
IMPORTANT NOTE The angle of your squeegee directly corresponds to how much ink gets through screen. the lower the angle of the squeegee, the more ink will be pushed through the screen. The higher the angle (more vertically) you hold the squeegee, the less ink will pass through the screen.
|
|
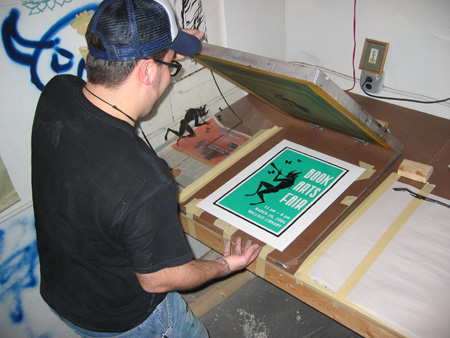 |
STEP 7 Lift up the screen and Voila, you have your first complete print.
|

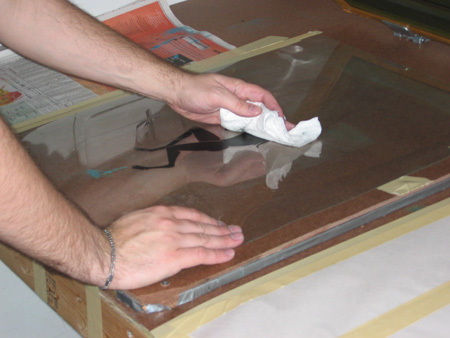 |
STEP 8 Wipe off the mylar sheet with a damp towel first. Then place this flat to serve as a base for the rest of cleanup |
 |
STEP 9 Put down a few sheets of newspaper to catch the mess. |
 |
STEP 10 Use a 3x5 card to scrape the excess ink off the screen and the squeegee. Scrape it into the cup, and seal the top with tin foil or plastic wrap, and you can reuse the ink a later time. |
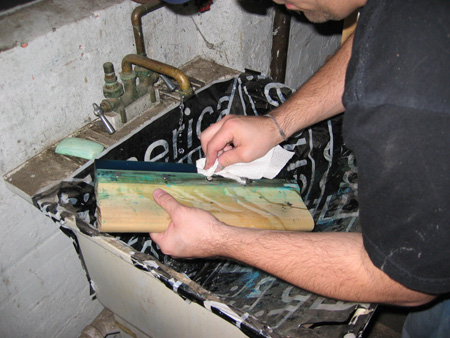 |
STEP 11 Make sure to clean all the ink off the squeegee when you are done. For water-soluble and acrylic based inks, use water and a damn paper towel to scrub off the ink. Any ink left over can contaminate ink in the next run. If you are using heat-set inks like plastisols, a tougher cleaning agent like Paint thinner needs to be used in place of water. |
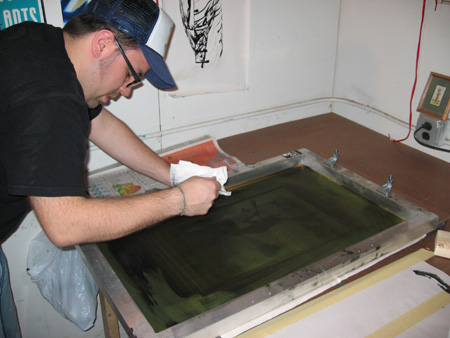 |
STEP 12 Use paper towels and water to first wipe off any excess ink and then to scrub out ink from the details of the design. Again, if using heat-set inks, a chemical like paint thinner must be used in place of water. |
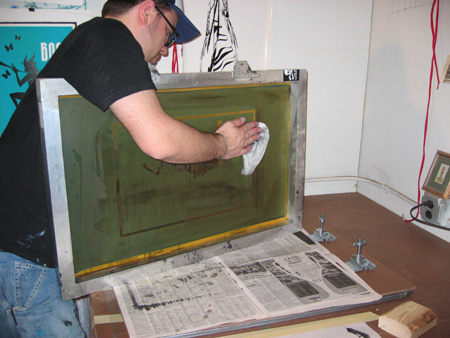 |
IMPORTANT The emulsion in the screen can also come out if you scrub too hard with water, as it is also water soluble. Be careful if you are doing a prolonged run that you don't damage the design. |

PDFs • How to screenprint the Speedball® way PDF (338 KB download) WEBSITES • http://www.handonestudios.com • http://www.speedballart.com • http://www.ulano.com/
|
All contents © 2004 Erich S. Lehman
Photography / assistance by Dana M. Busch.